Tuesday, February 22, 2011

Raspberry Bars

I made some bars on Sunday.


They taste pretty good.

I'm sorry, I'm not feeling particularly talkative (writative? There's got to be a word for this.) today.

Anyway, the bars are pretty easy to make, first, you make a simple shortbread crust and bake it.
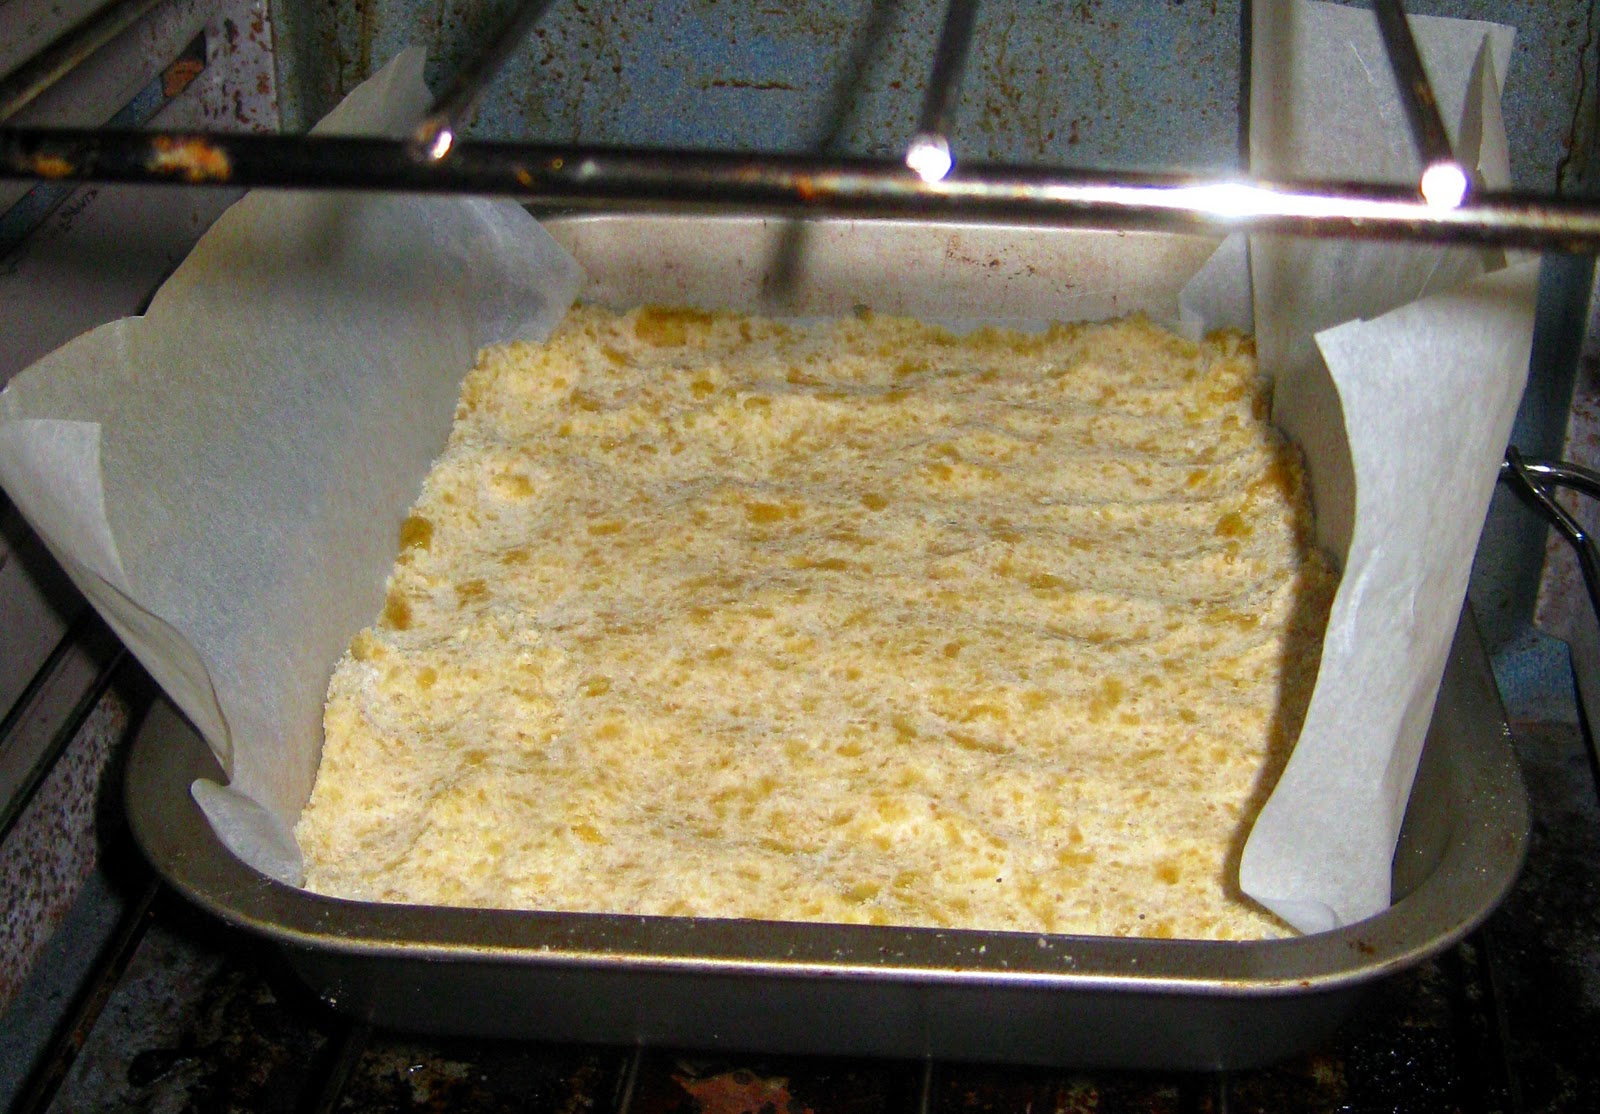

I would suggest modifying the recipe to have more butter.  They only call for a little more than one stick, but I found that overwhelmingly lacking, especially when the recipe asks you to mix in the flour until combined.  That flour will never combine with so little butter.  I broke down and used a mixer, which probably lead to my crust being too hard and crumbly.  If you're going to make this recipe, use more butter.

After you bake the crust, just mix up all the other ingredients and pour on top.


If you look closely at that picture, you'll see that some of the runny red liquid has gone behind my wax paper.  That is bad.  Despite what the recipe says, this stuff cooks up sticky, and it was a bitch getting it out of the pan when it was all cooked.  I blame the stuff behind the wax paper in particular.  Also, everything behind the wax paper is wasted topping.

Part of the process requires squeezing all the juice out of a couple cups of raspberries.  That left me with a bunch of pulp that I wasn't ready to just throw away.


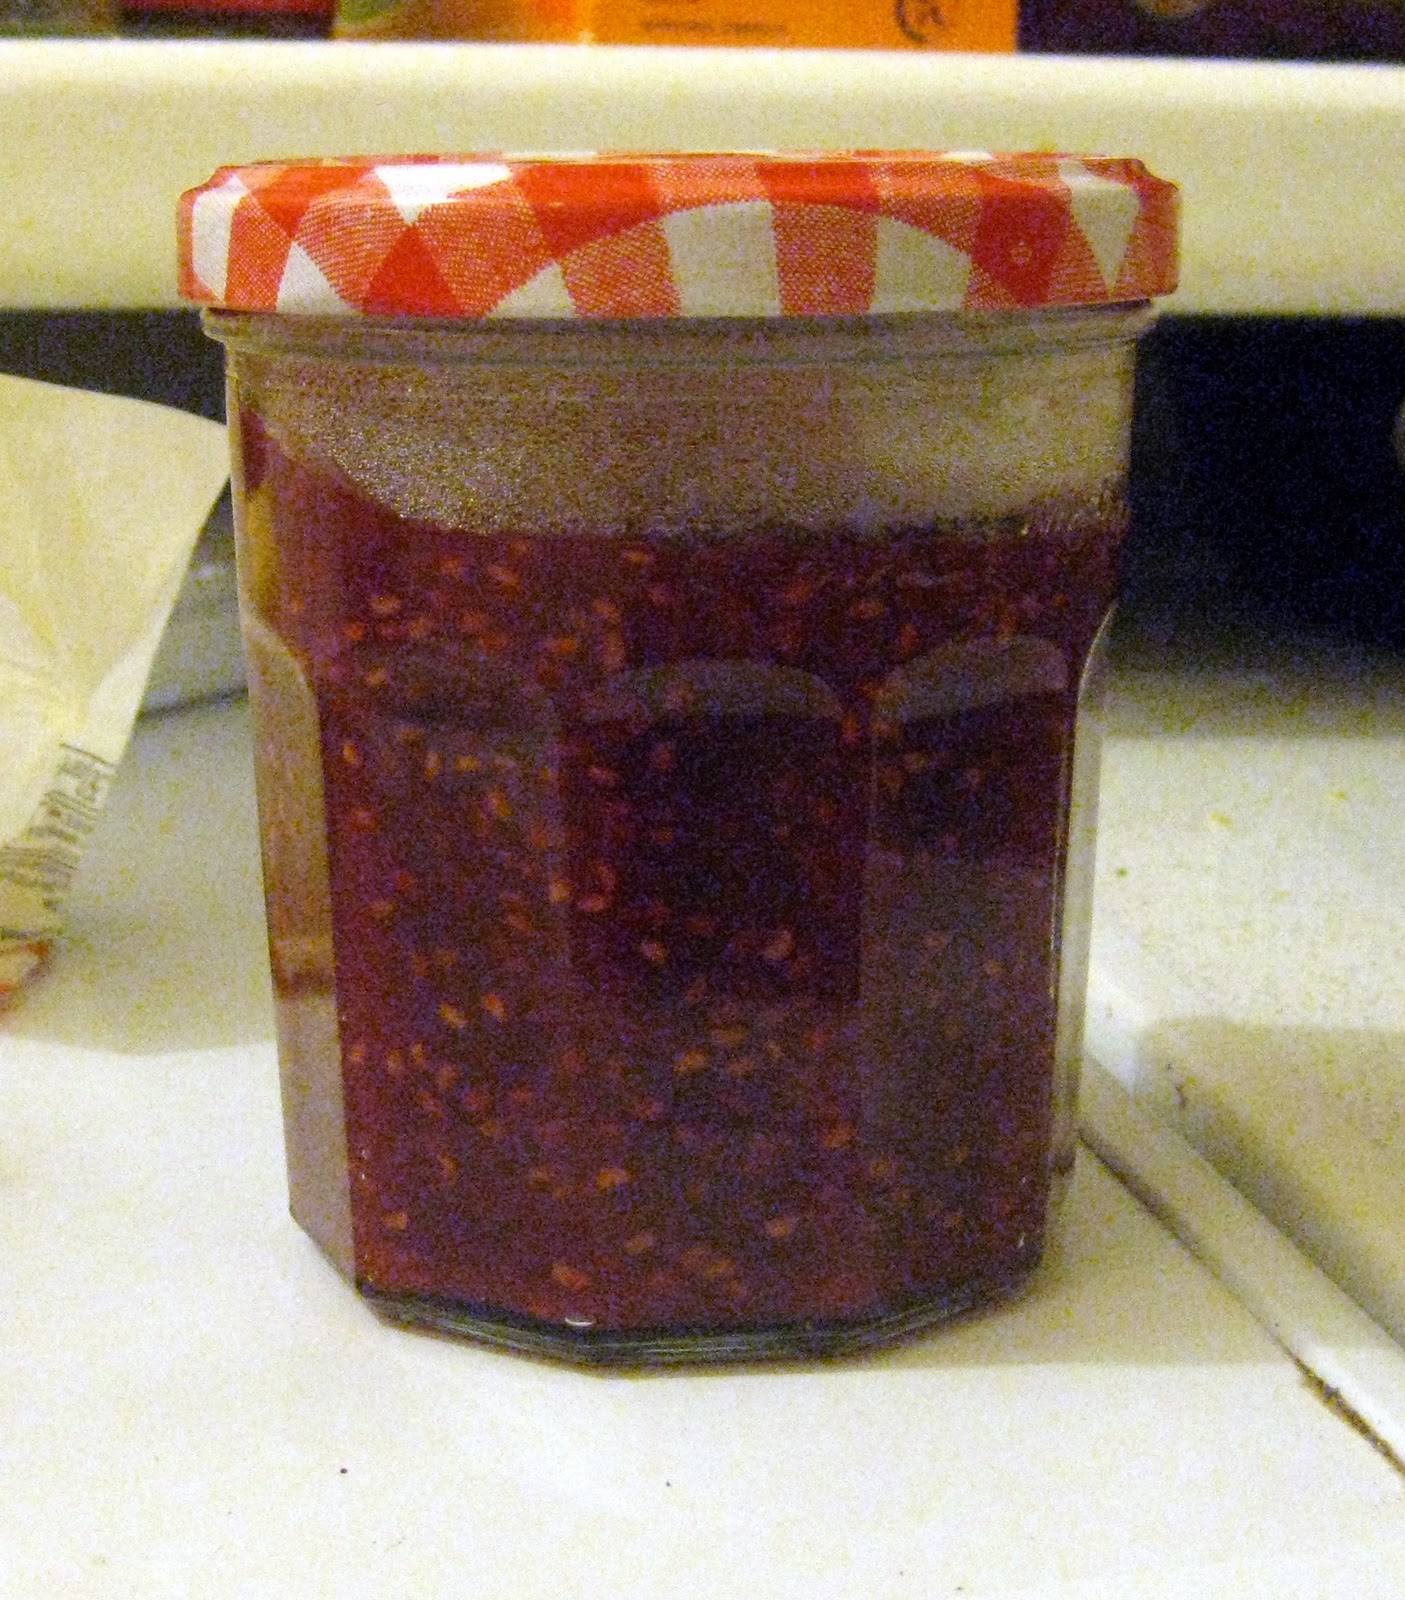
I decided to use it to make some jam, since that's how I roll.  The jam was pretty easy: I just took the pulp, added the lemon zest I had leftover from the bars, some sugar, a little bit of corn starch, and finally, some of the tastiest orange juice ever:


Orange juice with lime in it!  What will they think of next?  Anyway, just boil that up until it gets thick, and throw it in a jar.  It looks like this:

and it spreads like this:


That's me making my lunch the next day.  I made all this on Sunday, and I didn't actually try the bars, because they were cooling, until Monday.  The above picture is my usual PB&J for lunch on Monday.  I don't always have PB&J for lunch, so maybe I shouldn't say usual, but it's my default if I don't have any leftovers or anything.  Now I have homemade jam to go on them, so I might step up the sandwich eating until it's gone.

Inside, the bars look nice.


Although, you can see that the crust would have been better if it had more butter.  The topping takes some getting used to: It has a nice flavor, but a weird, jelly-like texture.  I'd say that the texture gets better with time though, because it seemed a lot better on Monday than it did on Sunday.  Now it's almost Wednesday, so I'll bring the rest of the bars into work and see what everybody else has to say.

The bars are pretty nice, I'd suggest giving them a try, but they're nothing spectacular.  I'd say I'm more excited about the jam, maybe because it's a recipe I just made up, maybe it's because I like jam.

Saturday, February 12, 2011

Dessert!

Well, after I made the black pasta and posted about it, I decided to make some tasty dessert.  So I tried my hand at a Strawberry Dumpling.  The thing is, I didn't have enough strawberries, so I opted instead to make a red berry dumpling.  The original recipe calls for a pint of strawberries.  Using strawberries, raspberries, and cranberries, I was able to get what amounts to a little more than a pint, but I went with it anyway. 

The recipe is pretty simple:

1. Cut up your berries, mix them with sugar, and let them sit for a while until the get juicy.


I mashed mine up with a pastry blender to bust up the cranberries.  Fun fact: cranberries are like little balloons that pop when you squash them!

2.  Make some simple biscuit dough with flour, baking powder, salt, butter, and milk.


3.  Then you just boil the berries and plop the dough in there for about 15 minutes.  The dough plumps up and cooks through.


The dumpling in this picture is the brainy-looking thing.  My mistake was two-fold.  First, I stirred the dough into the berries a little bit when I first added it.  I don't think I should have done any stirring.  Second, I was supposed to turn down the heat once I had added the dough.  I didn't do that.  I don't know if that actually had any effect, but I wish I'd followed the recipe more closely.

In the end, it looked like this:


Not beautiful, but still, I'd eat it.  I did eat it.


That's some ice cream on top, definitely a good idea.

I'd say this is a great recipe.  Next time I make it, I'll avoid the cranberries.  Even if they are fun to pop, they made the sauce just a little too tart.  I thought I could get around that by adding more sugar at the start, but I think there's more to it.

Coming up some time in the future, from the recipe book: number 14, Mozzarella and Tomato Skewers, and from the internet:  Raspberry Lemonade Bars.

Black Pasta

I finally made the black pasta dish from the 400 Appetizers book, and I have to say, this one doesn't disappoint.

First off, I had to order the black pasta, also known as sepia pasta, or squid (or cuttlefish) ink pasta, from the internet, because apparently, it's not a popular item in Glasgow.  I don't know why, this stuff is awesome.  It doesn't taste much different from regular pasta, but it's black, so I'd say it's about twice as cool.  Dry, it looks like this:


I had to order a bunch because they wouldn't send it to me unless I ordered more than £5 worth of stuff, and each package was only £3.50.  As a side note, that's the recipe book open to the recipe on the bottom left of the picture.  I will never make a dish that looks like their pictures.

This recipe is pretty easy: cook the pasta, toss with olive oil and a small, chopped and seeded pepper, and top with ricotta cheese.  They suggest black pasta, but really, this will work with any color pasta you've got.  There's even a side-note in the book suggesting green, red, magenta, or golden brown pasta.

When I finished, it looked like this:


Unfortunately for me, I overcooked the pasta a bit, so my nice long, shine strands broke up into little mushy strands that lost a lot of their luster, but the end result was still surprisingly tasty.  The little bit of red pepper really added a lot to the natural flavor of the pasta.  I was initially unimpressed with ricotta cheese in general, but in this dish, it's perfect.  The whole thing came off really well.  You can see that I garnished this with a couple fresh basil leaves.  This is suggested by the recipe book, but I don't think it's necessary at all.

When I was done, it looked like this:


Now this doesn't mean much, since my plates look like this even when I'm eating something that's not very good. In those cases, I don't post pictures of my empty plate.  The fact that there's a picture of an empty plate is my signal to you that it this was a good dish.

Monday, February 7, 2011

Hot Wings

Super Bowl Sunday in the UK.  You know what they don't have here?  Everything good, but more specifically: Buffalo wings.  Sure, you can call up Pizza Hut or some crap shack like that and get some "Spicy BBQ Wings," but I'm not that stupid.

So, in the spirit of the season, I made my own.  That is to say, I made some chicken wings and dowsed them with a bottle of Frank's Red Hot Buffalo Wing Sauce.  Turns out wings are ridiculously easy to make, and as ridiculously delicious. 

First: buy some chicken wings.  These are cheaper than dirt.  I bought two kilograms for about two pounds.  That turns out to be about 20 wings, and when chopped up into drummettes and flats, yields about 40 tasty pieces.  In real numbers, I got 38 pieces, and after eating three before making them hot, I was able to serve 35 at the Super Bowl party.  To cut them up, just take a great big butcher's knife and cut off the tip, then hack your way through the joint between the drummette and the flat.  I washed and dried mine after this, but it's not really necessary, and then I sprinkled them with salt and pepper while I waited for the oil to heat up.


Second: Fry that shit up.  I used my heavy cast-iron skillet and about a whole bottle of vegetable oil.  Make sure the oil is really hot, just at the smoke point, and cook a few pieces at a time.  I did eight at a time.


Third: Restrain yourself.  When they come out of the oil, set them on some paper towels to drain, and then don't eat them.  Or do, they taste great at this point.  Clearly, I had to check a few for doneness.  Even the larger pieces were cooked through by the time their skins had reached an enticing brown.  I don't know how long that was, because I wasn't timing anything.  Just cook them until they look good.


At this point, I put them all in a container to wait for the party.  Sure, they cooled down some and lost their crispyness, but I'm okay with that, because they were going to be reheated and soaked through with sauce soon enough anyway.

At the party, but before the game started, I melted about a quarter-cup of butter and a bottle of Frank's in a wok.  Once it was simmering, I just added in the wings.


The picture above and the one below were taken with my phone, since I forgot to bring my camera to the party, but I think that the deliciousness comes through even with only 2 MP. 

When they were warmed, I put them in a nice glass bowl, generously donated to the cause by the owner of the kitchen, my friend Fraser (not pictured).


And that is the story of how I made some amazing Buffalo wings for the Super Bowl.  You can rest assured that I will be making these again.  I will be trying other sauces as well.  This is now an official part of my cooking repertoire.

Saturday, February 5, 2011

Corned Beef

So I finally did some cooking today.  Sorry, it wasn't the black pasta; it seems you can't get that stuff in Glasgow.  I just put an order in from Melbury & Appleton, so it should be here within a week.  That stuff is not cheap, let me tell you. 

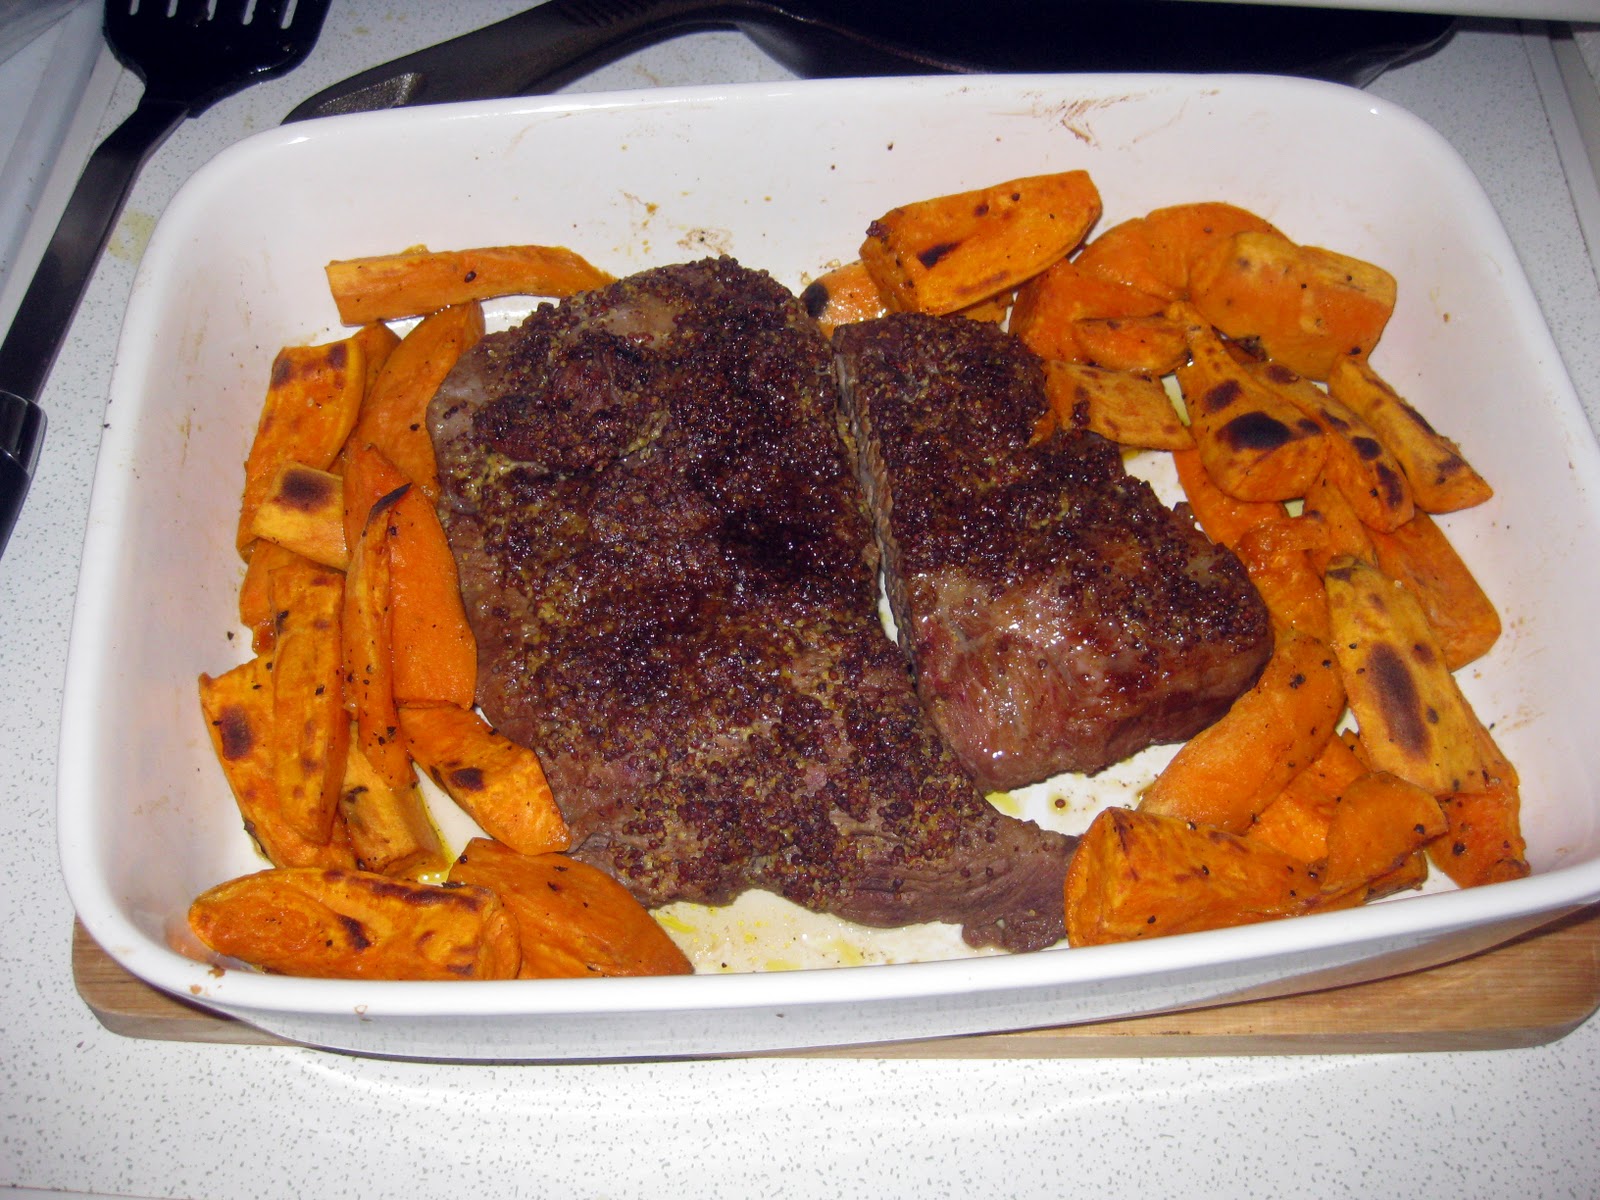
Anyway, I did make some corned beef and roasted sweet potatoes.  First, I had to make my own corned beef brisket.  It seems you can't buy corned beef brisket here in Scotland, so I bought just a regular old brisket and soaked it for a week in a brine made from salt, pepper, pickling spices, bay leaves, and water.  Then, inspired by this recipe, I smothered it in wholegrain mustard and brown sugar and popped that baby in the oven.  I thought it would go well with some roasted sweet potatoes, so I looked up how to do it.  I found this recipe and really just used it to make sure I wasn't doing anything wrong.  My sweet potatoes were cut into fourths, drizzled with olive oil, salt, and pepper, and baked in a separate pan in the oven with the brisket.  Since I was using a pretty small brisket, it only took about one hour and forty minutes before everything was done, and then I combined the potatoes and brisket into one bowl and put them under the broiler for about five more minutes to make it all a bit more crispy.

Here are the results:


I know, it looks a bit meager, but I'm using a small brisket, only four sweet potatoes, and a really big dish here.  It also looks pretty tasty.  That stuff on top of the meat is the baked on goodness of the mustard and brown sugar.  I had a bit of it for a late dinner (it was already 2am!), and damn, this is some good shit.


I mean, look at that.  Amazing!  The potatoes were perfect, and the beef was all kinds of flavorful, and in a good way, too.  And the thing with corned beef is that it's always better the next day, so I can't wait for tomorrow.

Next recipe from the internet: Strawberry Dumplings

Friday, February 4, 2011

Sorry, No New Cooking Yet

Wow, it's been a long time since I posted.  Don't worry, I haven't forgotten, I've just been distracted lately.  I didn't cook anything today, but I did just sew a new scarf.


I got the original idea from here, but the pockets there are pretty crappy.  Plus, I don't need any of that extra crap, and I wanted a longer and wider scarf.  So really, I didn't follow those instructions at all.  I will say that this is my third attempt.  The first one was much more like in the link, and I've just been improving on it ever since. 

This one's got double welt pockets, one on each end. 


Although, they are a bit too shallow:


That's actually only about four inches deep.  I guess I'll have to try again sometime.  Maybe then I'll finally get it right.  Still, I'm pretty happy with this one.

I like this project because it only takes a couple hours to make, and probably a lot less time if you practice sewing regularly.  I'm going to have to start making things other than scarves one of theses days.  Also, if anybody cares, here are some nice instructions on making a simple welt pocket.  It's helped me twice now. 


On the cooking front, I'm hoping to make the corned beef this weekend, it's currently in brining in the refrigerator, and I'm still looking for some black pasta somewhere in Glasgow.  If I can get that, I can move on in the book.  I'm also looking to make some hot wings for the super bowl, so we'll see how that turns out.

Saturday, January 15, 2011

Ups and Downs

I didn't do much today, but what I did do was cooking, so you're about to see the fruits of pretty much all of my constructive motion today.  Despite my original plans of cooking and cleaning today, my house is not much cleaner than it was when I started, but I am now full for the second time today.

First, breakfast:
I've been waiting to try out the recipe in "400 Appetizers & Party Recipes" for chocolate and orange scotch pancakes since I picked it out more than a week ago.  I mean, the picture in the book just looks so good.  The recipe is pretty easy, it's basically a modified chocolate pancake soaked in a creme fraiche sauce and flavored with chocolate and orange, with a bit of Gran Marnier thrown in for good measure. 


The pancakes were pretty great by themselves, so I'll throw in the recipe here:

In a large bowl, sift together 1 cup self-rising flour (I used a substitution from "The Joy of Cooking" of 1 cup plain flour, 1.5 tsp baking soda, and 0.5 tsp salt) and 2 tbsp cocoa powder.  Make a well in the dry ingredients and crack in two eggs.  Slowly incorporate the eggs into the dry ingredients with a whisk (This is actually pretty hard.  I think I did it wrong because I just got a bunch of lumps of dough-like substance, while the book seems to indicate that it should be smooth).  In a small pan, heat together 7/8 cup milk and 2 oz semisweet chocolate (I used 72% cocoa dark chocolate) until the chocolate is dissolved.  Mix the chocolate mixture into the egg mixture and add the finely grated rind of one orange and 2 tbsp orange juice.  Drop large spoonfulls of the batter onto a pan and cook them like any other pancake. 

I had a couple of these little pancakes while I was making them, and believe me, they are delicious.  The thing is, they're not really sweet like pancakes, more like a kind of savory chocolate.  I don't know if this is because of the salt in my self-rising flour substitution or what, but I loved these guys on their own, and I hope to make them again.  Unfortunately, the rest of the recipe just goes down hill.

Actually, if you just make the start of the cream recipe--dissolving some brown sugar in warm butter, and mixing with creme fraiche--you'd have a pretty good sauce, but I found that the added Gran Marnier, orange slices, chocolate, and orange peel just brought it down.  I think it was too much.  I also think that I don't like Gran Marnier.  When it was done, the whole thing looked like this:


Not too impressive.  If I do this again, I'm going to just make the simple sauce and drizzle it over the pancakes, but in this recipe, I was instructed to basically stir the pancakes into the sauce.  This resulted in the horrible mess you see above.  It didn't help that my orange peel is short and has too much pith, and I could only make chocolate shavings instead of chocolate curls for decoration.  I'm sure a more professional cook could do a better job, but I think even a more professional cook would agree with me when I say this dish would taste better if we just kept it simple.

I was so full from the pancakes that I had no need for lunch, so we'll just fast-forward through my squandered afternoon (although I did call Jingnan, that was nice), and get to the flour tortillas.

Dinner:


I linked to this in a previous post, but I'll do it again here because it's such a good recipe.  Since it's just a simple flatbread, both the ingredients and the instructions are basic: mix together flour, salt, baking powder, milk, and lard; roll into circles and cook. 


I just followed the recipe, and I didn't have any problems to speak of.  Well, except I learned the hard way that you shouldn't stack the tortillas once you've rolled them, if they sit too long, they'll start to stick together and it's a pain to separate them.


I really liked working with this dough though.  The milk and lard lead to this being a really soft and light dough that just rolls out like magic.  Some people might be scared to try the recipe just because they've had bad experiences rolling out pie crusts or something, but this is nothing like pie crusts.  Well, it might be like rolling out pie crusts in heaven, because this dough is light and fluffy. 

They're pretty quick and easy to cook, so I'll just skip to what they look like when they're finished:


Well, now I've got a stack of fresh flour tortillas, what do I do with them?  I make tacos (fajitas?)! Well, I'm sure it's closer to tex-mex than anything else, but it is delicious.


As you can see, I've got my tortillas, some refried beans (hard to get around here, but I stopped at Lupe Pinto's last weekend), cheese, tomatoes, lettuce, and two meaty fillings.  I've got some regular ground beef with loads of cumin, cayenne, salt and pepper, and some beef bouillon to fill it out, and I've got some pork steak cubed and fried up with onions and yellow bell pepper.  It's a hefty spread, and now that I've eaten a couple portions, I can tell you that it is a filling as it is tasty. 


Upcoming recipes to look forward to:  Elvis's favorite banana pudding recipe, baked corned beef encrusted in dijion mustard and brown sugar, and from the recipe book, recipe #149, Black Pasta with Ricotta (if I can find any black pasta around here).