Saturday, June 15, 2013

Papusas!

Papusas are the newest entry on my list of favorite foods. These are a Salvadorian treat. I first picked some up in the freezer isle of the grocery store, not knowing what they were. They turned out to be delicious. Then, I went to this great Salvadorian restaurant known for their papusas, La Caravana, in Altadena, CA. I was not disappointed. The thing is, they're super-simple, so I wanted to make them for myself.

Your basic papusa goes like this: take some masa (a dough made of corn flour and warm water) roll it in a ball, make an impression in the ball, fill the impression with a filling of your choice (usually cheese and/or beans), seal it back up, and smash it flat. Then you cook it up on the grill, and you have a tasty, simple treat. Hooray!

Here, I've illustrated it for you:

1: Masa


2: Filling

Mine is made of black refried beans, garlic, halapeƱos, and queso fresco (Mexican cheese)

3: make a hole


4: fill the hole


5: close the hole


6: Cook


7: Enjoy!


I started with the recipe from here, but I changed the filling, of course, and making a hole with your thumb and filling that is way easier than what they suggest.

Sunday, August 12, 2012

Cacao and Potatoes

Well, it looks like it's been a long time since I wrote in here last. Please forgive me: I've moved across the Pacific, and I'm still getting settled.

Having said that, this is my first entry in a new kitchen! Yes, it is very exciting. It's also my first time doing my own cooking in a gas-powered kitchen. I much prefer electric for its simplicity: only one bill each month, its predictability: I know how hot a certain setting is on the stove, and finally, for its speed: that's right, I like electric precisely because it takes longer to cool down. If I want to completely remove the heat, I'll move the pan. Finally, gas stoves make me uncomfortable because they can blow up. Electric stoves don't have that feature.

Well, like it or not, I'm stuck with a gas stove. So what do I do with it? I start out with some highly-flammable cooking of course. 


Cacao

Okay, so there are two major chains of supermarket near my house: Ralph's and King Ranch. Ralph's is your typical middle-class white person's supermarket, and King Ranch is your typical middle-class Mexican person's supermarket. By that, I mean that there are a lot more Mexican foods and Mexican people at King Ranch, and the added variety of food makes it fun to visit.

On a recent trip to King Ranch, I found a bag of cacao beans. Now, I've heard that making chocolate is hard to do, so I wondered why you could buy unprocessed cacao beans in a supermarket, but I wasn't about to not buy them, so I didn't not buy them.

The instructions on the bag are somewhat unclear: "Roast beans, remove skin, add cinnamon and sugar to taste and grind. Add 1 tsp to 1 cup of boiling water or milk." So I guess it's for making hot chocolate. I had to do some research online to find out how to roast cacao beans, but it doesn't look hard.

I tasted the beans first, they taste vaguely chocolatey, but nothing special. Then I roasted them for 30 minutes at 300 F. That's a bit hotter and longer than I'd read, but most sources say that they should start popping when they're ready, and I heard no popping, so I don't know what's up with that. I took them out after 30 minutes anyway, and figured they were done. I think I might have over-roasted them a bit.

Cacao beans pre-roasting


So my previous comment about making flammable things has to do with the shells of the cacao beans. Apparently, they're very flammable, and you're advised not to prepare them in a gas oven. I ignored that for the most part, but I was vigilant for any fires that could have destroyed my new home. There were no fires, so I was forced to remove the shells after roasting the beans. That was the most annoying part. They say the shells are supposed to be easy to remove, but it was still a lot of work separating them one by one. If I never roast cacao beans again, it'll be because I don't want to shell them again.

Shelling beans: On the top are the skins, the beans are on the bottom.

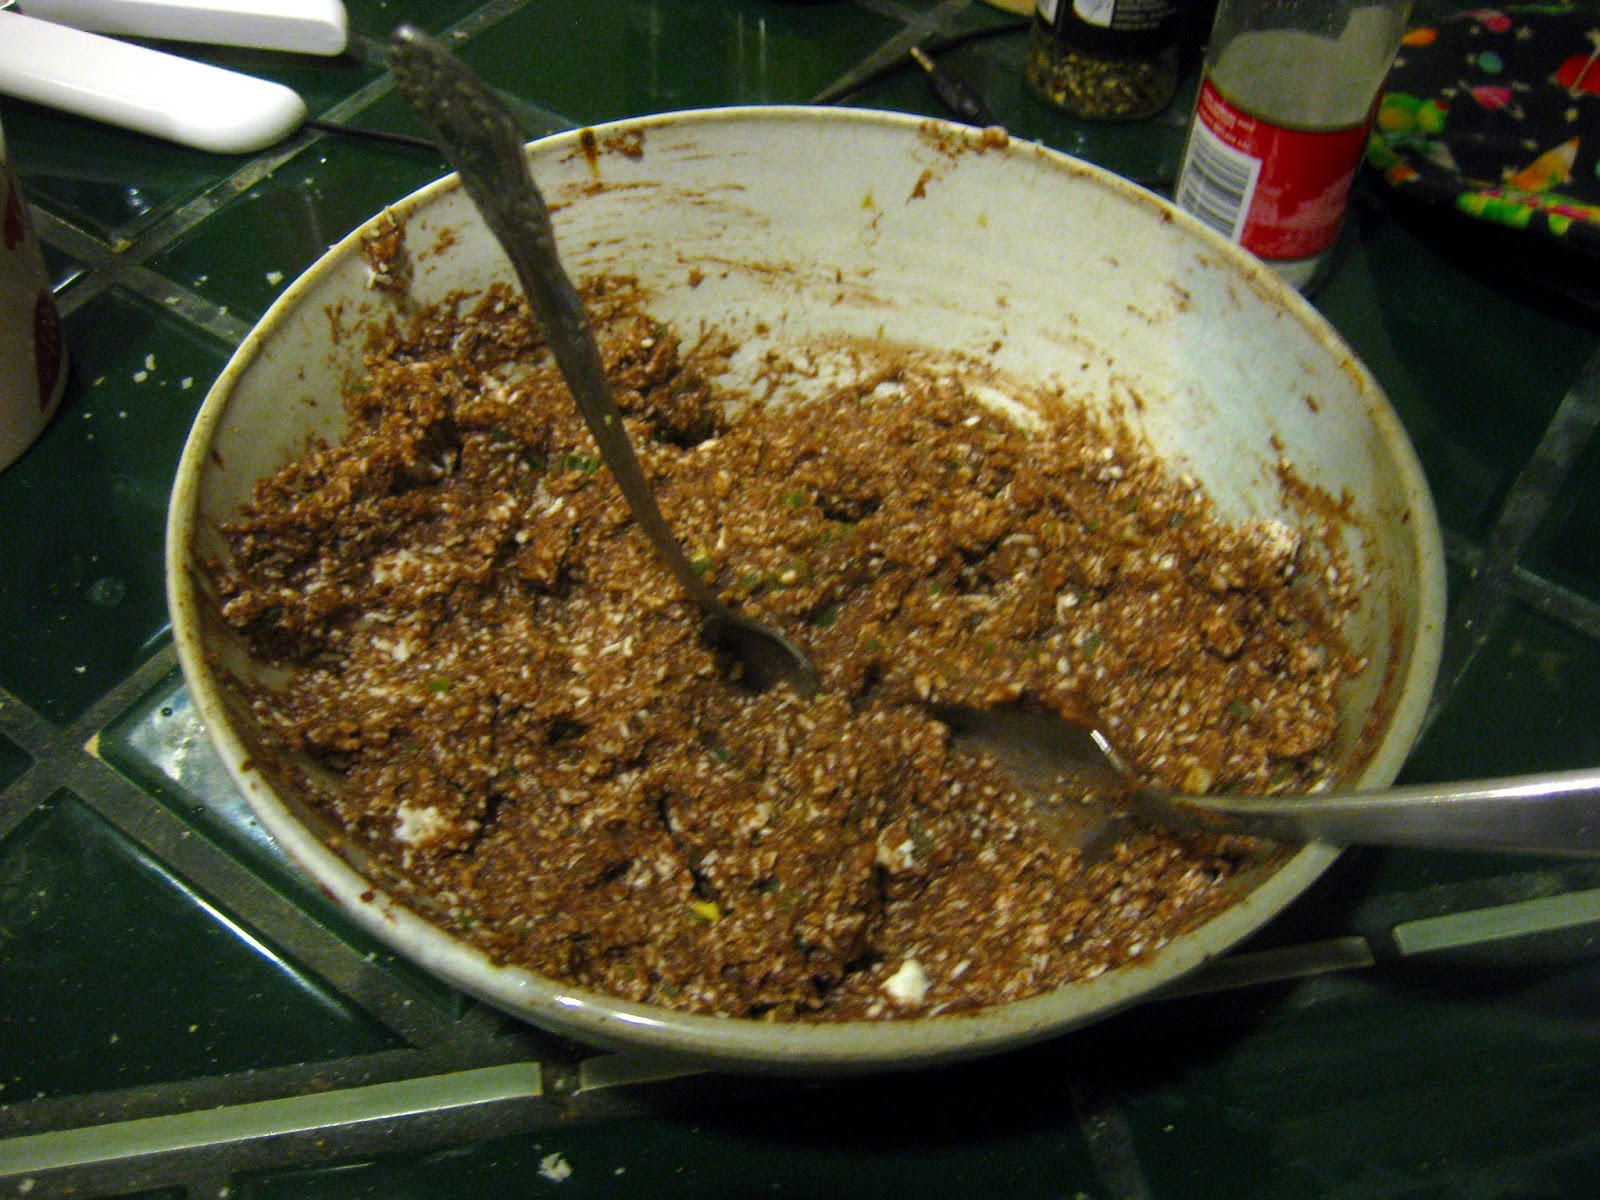
After shelling, which took forever, I added a little more than sugar and cinnamon. I added cane sugar, cinnamon, cloves, nutmeg, vanilla, and cayenne pepper. Probably too much seasoning for my first attempt, but I was still a little worried it might taste burned from my over-roasting. I threw all that into a Magic Bullet to grind it all together, and the picture you see below is the result:


This looks and smells a lot like cocoa powder, which it basically is, but it's a lot more sticky and oily than cocoa powder. You see, cocoa powder is this, but with all the cocoa butter removed, which is one of those parts that is extremely complicated. Anyway, this stuff is pretty good.

Finally, I heated up some milk, hazelnut milk in this case, because I'm experimenting with the various types of fake milk, and added a bit of my new powder to it. The end result was pretty good. It tastes just like hot chocolate, but with all those extra spices I added. To be honest, I probably added a little too much cayenne pepper, but hey, I likes it spicy.


On a final note, I think I'll strain the hot chocolate in the future. There are still too many bits of cacao nibs floating around in there.


Potatoes

Well, it's also been a long time since I made a recipe from the internet. I'm not really sorry to say this; but I didn't bring the appetizer book with me, so I won't be making any of those overly-complicated recipes any time soon. Sorry to all those people still looking forward to the shellfish I promised though.

This recipe is for Idaho sunrise potato bowls. Basically, they're hollowed-out baked potatoes with egg, bacon, and cheese baked inside. It's a pretty simple recipe, but I wanted to do it right, so first, I looked into how to make a proper baked potato. I followed these directions, and baked my potatoes at 350 F for 60 minutes. They still weren't done, so I baked for another 20 minutes, and to be honest, I think they probably would have been better with another 15 minutes on top of that. Whatever, maybe my potatoes were too big (or, and I'm just throwing this out there, the oven temperature is messed up, because it's a gas oven).

Anyway, the potatoes were fine, and I hollowed them out to the best of my ability with a spoon. The insides made some fine mashed potatoes along with all the leftover ingredients.

Potato fillings


The insides were filled with one egg, a bunch of bacon, some Colby cheese, and a mixture of parsley and coriander. Back in the oven for 35 minutes, even though the recipe calls for 20-25 minutes (I'm still going with the cold oven theory), and I've got myself one potato for dinner, and another for breakfast:


In the end, this took forever. Baking takes too long. Also, I think I had room for another egg in these potatoes, or I could have put some of the filing back in as mashed potatoes, or I could have added more bacon. Whatever, they were pretty tasty, but I'm not sure I'll make them again any time soon.

Sunday, April 1, 2012

Savory Breakfast Muffins


Wow, so the last update was in January. That's a long time ago. I've been making plenty of things, I've just been too lazy to post any of them. Well, I made these lovely Savory Breakfast Muffins last weekend, and now I'm finally ready to write about it. These guys are colorful, tasty, and make for a good breakfast.  Plus, they've got vegetables, so they must be good for you.


So the recipe's pretty easy to follow, and it tastes good. I made a few changes to the recipe though, based on what I wanted and what I had:

First of all, who keeps whole-wheat flour around?  Probably a few people, and I don't judge them, they're probably healthier than me, but I don't.  Instead, I did a little switch and replace action.  Instead of two cups whole-wheat flower and one cup all-purpose flour, I used two cups all-purpose flour and one cup fine semolina. I would rather use corn meal, but semolina makes a nice stand in when you don't have any (good replacement for making grits, too).

Second; buttermilk: didn't have any.  Yogurt makes a good replacement, so that's what I used.  I don't know who these people are that keep buttermilk lying around for baking, but I've always needed to go to the store for that stuff. Buttermilk only seems useful for baking things, and it doesn't keep long enough between baking projects.  I'm not about to run to the store for some buttermilk when I'm making breakfast, so it's a good thing yogurt works so well.

Finally: I didn't have any Canadian bacon (who does?), so I used some chorizo that had been sitting in my refrigerator for a couple weeks. Chorizo keeps forever, and it's spicy.  I think it's another good substitution.

I also made two tiny mistake, but was able to correct them thanks to the fact that my oven doesn't hold a full-sized muffin tin. I've got to use a little 6-muffin tin, so I was able to spot and correct my mistakes over a couple pan-fulls.  The recipe says it makes 12, but I got 18 out of it.

So the recipe says to add 1 1/3 cups buttermilk.  I don't know what I was smoking, but I read that as one, 1/3 cup measure of buttermilk.  Definitely my mistake, and one I didn't make anywhere else in the recipe.  I did think it looked a little weird when I tried to put the following into the muffin tins:

 Yeah, it shouldn't be that dry.  Well, after basically throwing out that first batch of six, I re-read the recipe and found my mistake.  So I added the extra yogurt (I actually ran out and went with a yogurt-milk mixture), and put the next batch in the oven. It was then that I remembered that the recipe was also supposed to have Cheddar cheese.  Damn, how did I forget that?  So it wasn't until the last batch of six that I actually had everything.  Luckily, the batch without cheese was still pretty good.

 Fin.

Monday, January 30, 2012

Chocolate + Bacon = Goodness


So, I was reading some Calamities of Nature, a wonderful webcomic, and I was inspired by the cartoon in that link.  I'd never had a chocolate cake with bacon in it before, and I wondered what it would be like.  Luckily, the internet came to my rescue with this recipe, Dark Chocolate Bacon Cupcakes.  This was great, because I could easily dole them out to my coworkers to make them like me more. 

It's a quick and easy recipe, and I suggest that everyone try it.  The cake itself is delicious and moist, and the bits of bacon add some great texture and some welcome umami.  Even if you forgo the bacon, the cake recipe is great, so use it for your regular chocolate cakes too.  For the frosting, I just whipped up a quick chocolate cream cheese frosting.  There's no real recipe for that, just use your hand mixer to cream together a couple tablespoons of butter, maybe six tablespoons of cream cheese, about 3/4 cup of powdered sugar, and 1/4 cup cocoa powder.  My butter wasn't soft enough, so you can see little flakes of butter in the frosting.


Since my last update, I've also made a few other things, but they're not that exciting. 

Some Pakora:


Some Spam musubi:


Okay, the Spam musubi is pretty cool, you basically marinate some spam in teriyaki sauce, fry it, and put it on some sushi rice, wrapped with a bit of nori and a drop of wasabi.


Finally, we opened up our first bottle of homebrew last night.  It looks and tastes like real beer.


It's a wheat beer, and it's still got a few weeks left to age in the bottles, but we wanted to try this one, just to make sure everything is going well.  It seems to be.

Wednesday, December 28, 2011

Pretzels

Okay, so I know I'm supposed to be doing the grilled scallops from the 400 Recipes book, but I'm being lazy.  Yesterday, I wanted home-made pretzels, so we made those instead.  If anybody's keeping track, this one's number 25 in the book.

It's not a simple recipe, first, you have to make a 'yeast sponge'.  Yeah, I didn't know what that means either, so I just followed the recipe.  It says to mix 10 g fresh yeast, 5 Tbsp water and 1 Tbsp flour together and let them sit for two hours.  Now, I don't have fresh yeast, but the back of my fast acting yeast says that you can substitute 1 sachet for 15 g of fresh yeast, so I just used 2/3 of the sachet.  Well, if this website is to be trusted, a yeast sponge is supposed to get all thick and bubbly.  My sponge did nothing of the sort.  Then again, that website also says you should use roughly equal parts water and flower, so I don't know what's going on here.

Anyway, I followed the recipe like a good little boy.  The next step is to mix the yeast for the dough with some water and milk.  Now, I know what you're thinking--Mix yeast sponge with water and milk--well that's wrong.  In fact, the recipe calls for more yeast: I was a bit confused at this point, but I've never made pretzels before, so on with the recipe.  Actually, let me just quote this whole step for you:

Mix the yeast for the dough with the water, then stir in the milk.  Sift 3 cups of the flour and the salt into a bowl. Add the yeast sponge and the butter and mix for 3 - 4 minutes. Turn out on to a lightly floured surface and knead in the remaining flour. Place in a lightly oiled bowl, cover with lightly oiled clear film and leave to rise in a warm place for 30 minutes.
Do you see my problem?  It tells you to mix the yeast with the water and milk, and then it never mentions it again.  That is my problem.  Well, I just went ahead and imagined that they said, "sift 3 cups of the flour and the salt into the bowl", and hoped for the best.  After that, it's just letting the bread rise a couple times, and then it's on to the boiling.  First, I'd just like to say that I don't think my bread ever rises very much.  I don't know what I'm doing wrong, of if my yeast is all dead or something, but frankly, my bread almost never doubles in size like they say.

After rolling and folding, the pretzels look like this:


The recipe doesn't say this, but it's a good idea to 'glue' the ends down using a bit of water, or they'll unfold during the boiling.  I learned this first-hand. 

I deviated from the recipe a little bit here.  The recipe says just to boil the pretzels in water for a minute, but I had read a few other pretzel recipes at this point, and they all called for boiling in water and baking soda, so I put some baking soda in there, and I think it turned out for the best. 

After boiling, you brush with an egg wash, season, and bake in a 350 F oven for 25 minutes and voilĆ , pretzels:


We seasoned these with Cornish sea salt, mostly, but some also had toasted sesame seeds, pepper, and there was even one with rosemary, thyme, and basil. 

Overall, the pretzels are pretty good.  The crust is a little hard and thick, and the inside is a little too chewy, but that could be from anything.  Maybe my yeast sponge wasn't spongy enough; maybe you are supposed to ignore that second bunch of yeast; maybe I kneaded the bread too much; or maybe the baking soda in the water did something.  In the end though, I think the baking soda added a little bit of that special pretzel taste.

I've since read a couple more pretzel recipes, and while I'm no authority, I'd say that this one isn't the best.  It just seems overly complex, which appears to be a trend in this book.  I think the next time I make pretzels, I'll use this recipe.

Sunday, December 11, 2011

Chocolate SoufflƩs and More Sushi

Hello everyone, I know I said that I would be making the Grilled Scallops from the recipe book next, but I had some egg whites left over from making egg nogg, so I decided to make some Hot Mocha Rum SoufflĆ©s, recipe 330 from the 400 Appetizers book.

I think they turned out much better than my last soufflĆ© attempt.


These didn't taste eggy at all.  If anything, they were a little too bitter, but I'll still give them a pass. They're quick and easy, and only call for stuff you already have around the house (assuming, of course, that you have eggs, butter, cocoa powder, coffee, rum, and sugar).  It's a tasty dessert.

We wanted to try our hands at another American sushi roll.  In case you've never seen one before, this is what's called a Philadelphia roll:


It's another inside-out roll, but it wasn't so bad this time, so maybe we're getting used to it.  Inside is imitation crab, avocado, cucumber, and cream cheese (hence the Philadelphia in the name).  There's smoked salmon on the top, along with a light sprinkling of toasted sesame seeds.  These rolls are delicious; I heartily endorse them.


Okay, the grilled scallops are still coming up, and so are the lemon dreams, or whatever they're called.

Thursday, November 24, 2011

Big Catch-up Week

Okay, I've recently been reminded that I have a blog, and that I should update it at some point.  Luckily, this friendly reminder just prompted me to use my camera on some of my many culinary forays.  So here you go: Cranberry-apple pie, California roll, and Thanksgiving dinner. 

Cranberry-apple Pie


This little beauty was made following the basic apple pie recipe in "The Joy of Cooking".  The crust was just a basic flaky pastry made with shortening because they were out of lard at Sainsbury's.  Honestly, I think it turned out better; I was never a fan of the meaty flavor lard adds to pastry.  I of course altered the filling recipe by adding 250g of cranberries, and a teaspoon of almond extract.  The next time you make an apple pie, add some almond extract: it changes everything. 

Unfortunately, the apples I used (I've forgotten what kind) were a bit crappy, and they got too soggy during baking, so my filling didn't firm up the way it was supposed to.  The crust was still divine.  I gave it that nice sheen on top by brushing with pure egg yolk and sprinkling the top with sugar and cinnamon.  Here's one more shot:


California Roll

I'm going to start out by saying this: I think California rolls would be way better if they weren't inside-out.  Now, I don't know much about rolled sushi, I've only made it a couple times, but I do enjoy making it; I just think that inside-out rolls, the ones with the rice on the outside, are a bitch to make.  I like it a lot better when the nori's on the outside.  It makes everything much easier to handle.


The above picture pretty much shows all the ingredients.  You need to make some Japanese rice, or some short-grained rice if you're in a pinch.  I got mine from SeeWoo here in Glasgow.   Interestingly, the rice actually comes from the US, which I read is the third largest trader of rice in the world.   Anyway, you have to mix some vinegar, sugar, and stuff into the rice.  We just used some sushi-rice mix, which is just powdered vinegar, etc.  Finally, you spread the rice on the nori (seaweed), flip it over, then place the fillings (avocado, cucumber, and imitation crab meat) on the other side of the nori, and roll it all up.  Doesn't sound so hard, and really, it's not, but turning the rice-side down is a pain, and you have to use plastic wrap on your rolling mat to keep the rice in line, so I don't like it.


Another useful trick is to cut it with a bread knife.  We tried with a regular knife a couple times, and it just crushed the roll.  I think I figured this out once before, but I didn't remember this time around.  Anyway, it was good.


Thanksgiving Dinner

So today's Thanksgiving, so we decided to make a big dinner to celebrate.


What you see in that picture is: beer, candied sweet potatoes, mashed potatoes, white gravy, home-made cranberry sauce, corn on the cob, and green beans.  Oh, and turkey, of course.  The corn and green beans are just boiled.  Everybody knows how to make mashed potatoes and gravy, and the turkey breast was actually just store-bought: we just put it in the oven for an hour. 

The cranberry sauce was made following the recipe for cranberry relish in "The Joy of Cooking", and I have to say it ended up tasting more like oranges than cranberries.  We halved the recipe, so we had 1/2 pound of cranberries, 2/3 cup of sugar, 1/4 cup water, 1/4 cup of orange juice (fresh squeezed in this case), and 1 tsp of orange zest.  You just boil all of it together until you think it's done. 

The candied sweet potatoes come from this recipe, and honestly, they're pretty great.  Well, we quartered the recipe, and the actual amounts of sugar and butter are not quite right as they have written.  First, I followed the recipe, but the sauce was too thick and didn't coat the potatoes at all, so I tried again with a lot more butter, a little more sugar, and about the same amount of other spices.  I also made sure not to let it boil before pouring over the potatoes, because that makes it too thick.  After all that, I followed the recipe to the letter, and it turned out great.

Okay, that's all the cooking for now.  I'll try to be more diligent about in the future, but I'm also trying to write a thesis, so don't be surprised if I don't post again for a while.  Feel free to remind me though.  I'll do my best to oblige.

Sunday, September 11, 2011

Pineapple Upside-Down Banana Bread

So, what do you do when you have a lazy Sunday, a pineapple, some pine nuts, and three bananas that you want to put to good use?  I have no idea, so instead, I made pineapple upside-down banana bread.


Basically, I was thinking I should make banana bread to get rid of the bananas, but I saw the pineapple and thought maybe I should make pineapple upside-down cake instead.  Then I though "Put those hands together, my friend."  Well, I didn't bother looking to see if anybody had ever done this before; instead, I just turned to my trusty copy of "The Joy of Cooking".  The recipe for banana bread is quick and easy, and I fully endorse it.  The recipe for pineapple upside-down cake is pretty good, if I remember my past exploits correctly; although, I've definitely found better recipes online (sorry, I can't remember where, it was years ago).


I was only using the top of the pineapple upside-down cake recipe, which is basically: melt butter in pan, add brown sugar, arrange pineapple and cherries, pour batter on top--very simple, only the recipe wants to use a cast-iron pan, and mine doesn't fit inside my tiny oven.  I chose to use my large (1 Liter?) souffle dish that I used bought for the Amaretto Souffle.  I figured this would be better for the banana bread too, since it's usually cooked in a loaf pan with steep sides.


In the end, it all tasted pretty good.  It's not pretty though.  I used entirely too much butter and sugar for the top; although, some may argue I used just the right amount, since the caramel topping ended up coating the sides as well.  Instead of canned pineapple rings, I used chunks I cut from the fresh pineapple, so that didn't look so pretty, and they didn't stick to the top very well, probably because of the too much caramel topping.  The banana bread also ended up being much more moist and cakey.  I don't know if that's just from the recipe, or if the extra moisture and oil from the topping had something to do with it.  I also had to cook it extra long to firm up the center of the bread.  It was only about 15 minutes extra.

Saturday, August 27, 2011

Cookies! (meh)

Okay, so I made these peanut butter chocolate chip cookies today.  The recipe's pretty simple, and we all know how to make cookies, so I won't spend much time on them.  Basically, it's a simple chocolate chip cookie recipe with some extra peanut butter. 


My only change from the recipe is that I didn't have any chocolate chips, so I chopped up some Green & Black's Dark Cooks' Chocolate and used that instead.  The chocolate itself is pretty good, probably too good for these cookies, in fact.  I'm going to have to buy some more for hot chocolate some day.


In the end, the cookies look like normal cookies, but in my opinion, they're not as good.  Maybe it was my peanut butter or something, but these were just a bit too dry.  Also, the chocolate was just a bit too dark for this recipe, maybe it'd be better with some milk chocolate or semi-sweet.  Oh well, next internet recipe is for Lemon Melting Moments--some kind of lemon-frosting cookies.

Monday, August 15, 2011

A Failed Attmept

Well, I finally got around to making the Roasted Garlic and Aubergine Custards with Red Pepper Dressing from the cookbook. This was a long and challenging recipe. I don't know why they'd put it in a book of appetizers and party recipes, because it's too complicate for a party. Basically, you have to roast the garlic, grill the peppers, fry the aubergine (eggplant), and finally mix it all together to make the custard. Then, to top it all off, you have to make the dressing, which isn't that hard, but it's still another thing to have to do. Frankly, I think it takes too long to make, and there are too many things that could go wrong. I don't mind making it for myself, or with a bit of help, but if I were having a party, this is not something I'd make for my guests. Also, it's got loads of garlic in it, so even though it tastes good, it'll make your breath reek for the rest of the night and into the morning.

First, here's a picture of the dish from the book:


Now, here's a picture of my completed dish:


Notice a difference?

There are two things that went wrong here. 

1) Too much cream and not enough egg.  I didn't want to make six custards, so I cut the recipe in half.  I made sure to cut everything in half, except maybe the amount of aubergine, but in the end, I don't think that mattered.  The recipe calls for 1/2 pint of cream and 2 large eggs.  I used 1/4 pint cream, and 1 medium egg.  Okay, so I used an egg that may be a couple ounces lighter, but I don't think that made a lot of difference.  I think I should have used two eggs, and probably a little less cream.  I mean, I cooked these things for 10 minutes longer than the recipe calls for, and they still didn't firm up.  I finally gave up because the top was looking all right:


but when I flipped it over, the bottom still needed cooking:


More egg and less cream would have fixed this problem.

2) Look at that picture at the top again.  See how it's all browned and crispy?  Do you know how you make custards?  Do you know what the recipe says?  The way you make custards, and the way the recipe says, is by baking them in a water bath.  This is to ensure that the custard doesn't dry out, and that the custard is cooked at a constant, low temperature.  Do you know what doesn't happen in a water bath?  Crispy, brown edges, that's what.  I don't know how they made what's in the picture, but it wasn't the way they said in the recipe. 

Anyway, I still ate it, and you can't go wrong with cream and garlic, so it was pretty tasty.  Actually, I quite liked the dressing.  It's just roasted pepper, tomato, red onion, roasted ground cumin, olive oil and vinegar.  So it's nothing surprising, but it's still pretty tasty.  I might make that again.

Next recipes: Number 189 from the book: Grilled Scallops with Brown Butter (Where am I going to get unshelled scallops?), and The Yummiest Peanut Butter Chocolate Chip Cookies.

Tuesday, August 9, 2011

French Bread Pizza

So, I've finally gotten a chance to cook again.  The computers are shut off at work for half the week, so I've got time at home.  Technically, I'm working on my thesis, but I can't spend all day doing that.  No, no, I need to do some cooking between pages or writing.

Anyway, I finally got to make some Chicken, Bacon, and Ranch French Bread Pizza.  That link has two recipes in it, actually, and I made both of them.  First, there's a recipe for French bread.  I made that on Sunday, and it looked like this:


Not terrible.  I think it could have used a little more sugar for the yeast and a little less kneading from me because it's pretty dense in there.  I followed the recipe to the letter, but in the end, it's not much like French bread at all.  Still, it's passable bread for general consumption.

Next, the pizza part.  I waited until Monday to make the pizza, but I marinated the chicken over night.  Toppings-wise, I went to three stores, and couldn't find any ranch dressing (What's your deal, Glasgow?), so I had to use some "garlic sauce".  It tastes like ranch dressing without any extra spices.  The rest of the ingredients were basically what it says on the recipe, except I through some mushrooms on that baby too.  Before cooking, it looked like this:


Baked, it looked like this:


Looks tasty.


But really, it only tastes kind of 'blah'.  I think all the flavors here are just kind of plain, and there are no sharp, interesting notes here to really enjoy.  It tastes like garlic, oil, and salt on a whole lot of bread.  Well, I guess that's what pizza generally tastes like, but I'm not into that.  My chicken was marinated with salt, pepper, cumin, cayenne, and hot sauce.  Maybe it should have been barbecue. I think instead of ranch, or 'garlic sauce', I should have used something like the white sauce at Pizza Hut.  Sure, it's more fat, but that stuff has flavor.  In the end, I'd say this pizza's a lot more work than it's worth.

Sunday, May 29, 2011

Tasty Salad

Feeling in the mood for something healthy today and inspired by my recent stay in Italy, I thought I'd make some kind of refreshing salad today.  I went through my cupboards and found some black-eyed beans and decided I needed a bean salad.  I didn't have much else, so I had to go shopping for some of the other ingredients, but I present you to the recipe I invented:


Tasty Salad:
1 red bell pepper
1 can black-eyed beans (mine were in salt water, but I drained them, so maybe it doesn't matter)
4 spring onions
2 tsp baby capers
2 tbsp lemon juice
2 tbsp olive oil
1/4 tsp coarsely ground cumin seeds
1/4 tsp coarsely ground black pepper
1/2 tsp coarse sea salt

Chop the bell pepper and spring onions and mix with the beans and capers in a bowl.  In a separate small bowl, mix the lemon juice, olive oil, cumin, pepper, and salt until they are well combined.  Pour the olive oil mixture over the bean mixture and stir with a wooden spoon.  Enjoy immediately or let sit for a more mixed flavor.

I ate about half of it right away, and it is delicious.  I like the taste of cumin in a salad.  Until recently, I only had cumin in cooked dishes, but a nearby restaurant, The Two Figs, puts it in everything, and while their food isn't that good, the cumin is.  I'm letting the rest set until after dinner, or perhaps I'll have it for lunch tomorrow.  I can't wait!