Just a quick post today. I've spent some time this morning experimenting with making extra-thick pancakes. Here's the recipe I invented for this purpose:
Ingredients:
1 cup flour
1.5 tsp baking powder
0.5 tsp coarse sea salt
3 Tbsp golden syrup
1 egg
3/4 cup milk
1/4 cup melted unsalted butter
1-2 tsp vanilla extract (I like vanilla)
Instructions:
Combine the dry ingredients in a large bowl and stir until well mixed.
Combine the wet ingredients in a smaller bowl and stir until well mixed.
Pour the wet ingredients into the dry ingredients and mix until just combined, clumps are okay and preferred. If there are no clumps, you have over-mixed; good luck with your chewy pancakes, loser. Seriously though, it's not a big deal, just don't stir too much.
Pour the batter onto a pre-heated pan in whatever size you would like. I used my 12-in cast-iron frying pan, it's pretty well-used, so I didn't need to butter it or anything. Keep the heat around medium-low, lower than you would usually use for pancakes, since you want to cook these through without burning the bottom.
I also tried to pipe the batter into the pan by filling a plastic bag with the batter and cutting off a corner. I cut too much corner off, so I wasn't really happy with this method, but maybe I'll try it again sometime to see if I can do better.
Basically, I made the pancakes this thick by adding extra baking powder and using less milk. I'd say it turned out pretty well. Even without any toppings, these are delicious. Once again, I'll stress the magic of course sea salt: In cookies, cupcakes, or even pancakes, that tiny fleck of salt in every other bite makes a good food into an amazing food.
Top these babies with some salted butter (the salted kind is imperative, unsalted butter just won't do here) and some maple syrup, and you've got yourself one delicious breakfast.
Now, feast your eyes on this:
That's almost the entire batch, so if you want to feed more than just yourself, I'd suggest doubling or tripling the recipe.
Saturday, April 23, 2011
Sunday, April 17, 2011
Quick Cupcake Post
Today, I made cupcakes!
I've decided I'm not going to say much more than this: If you click on the cupcake link, you see that they're Cherry Coke Cupcakes, and if you scroll all the way into the comments, you'll find a recipe for buttercream frosting.
I thought that Cherry Coke flavored cupcakes was a pretty good idea. It probably is, but these cupcakes, while still tasty, don't really taste anything like Cherry Coke.
There is one thing I really liked about the recipe, and I'm just going to quote the recipe here:
I guess the next recipe I make will be the crazy aubergine custards from the recipe book, and after that, maybe some Chicken, Bacon, and Ranch French Bread Pizza.
I've decided I'm not going to say much more than this: If you click on the cupcake link, you see that they're Cherry Coke Cupcakes, and if you scroll all the way into the comments, you'll find a recipe for buttercream frosting.
I thought that Cherry Coke flavored cupcakes was a pretty good idea. It probably is, but these cupcakes, while still tasty, don't really taste anything like Cherry Coke.
There is one thing I really liked about the recipe, and I'm just going to quote the recipe here:
In a saucepan, boil the Coca-Cola, and cherry syrup gently for five minutes. Melt in the butter and cocoa powder.Do that, just that, and drink it. That shit tastes fantastic. I'm definitely going to use that as the basis of a hot chocolate some day.
I guess the next recipe I make will be the crazy aubergine custards from the recipe book, and after that, maybe some Chicken, Bacon, and Ranch French Bread Pizza.
Saturday, April 9, 2011
Saturday Evening Skewers
Hello again.
I've finally gotten some more cooking done. Well, sort of, this wasn't much of a feat. You see, I finally got around to making recipe number 14, Mozzarella and Tomato Skewers, from the "400 Appetizers & Party Recipes" book. It's a pretty simple recipe, and only calls for about 4 ingredients, bread, tomatoes, mozzarella, and basil. What's had me putting it off for so long was my lack of skewers. You see, they don't sell them at my local Sainsbury's. Of course, now that I've gotten some from Sea Woo, the Asian supermarket, a new store has opened up right next to Sainsbury's that does carry skewers; just my luck.
Well, I went out this morning and spent entirely too much on groceries, which I've been doing far too often, I'm afraid, and among those groceries were the requisite ingredients. First, you cut the crusts off the bread, cut into quarters, cover with olive oil, and bake.
Look at all those slices of bread! It takes three breads for each skewer, and here I have forty two pieces, which will eventually make fourteen skewers. Since each skewer also gets two pieces of mozzarella and two slices of tomato, I'll need twenty eight of each.
Once the bread is baked, you just stack them up: bread, cheese, tomato, basil, bread, cheese, tomato, basil, bread, and put a skewer through them. I took fresh basil leaves off my basil plant. I thought the poor thing would be stripped bare by this recipe, but it turns out these plants are dense with leaves. I hardly made a mark.
If you're making these, I suggest you stop at this point. This is basically a stacked Caprese salad, and it's delicious. However, the recipe says to drizzle it all with olive oil, add some salt and pepper, and put it all back in the oven until the cheese starts to melt.
Fresh out of the oven, they've all shrunk a little bit, so you've got to push them down so they stay together, and be sure to let them cool before you try one, unless you want a mouth full of lava-hot molten tomato juice. Once they've been baked, the top piece of bread becomes scratch-the-top-of-your-mouth crispy, and the other two pieces are soggy. That's not to say that they're not still delicious. I've already finished about ten of these things for my dinner.
After all that, I was left with the problem of what to do with all the crusts I had cut off the bread. I've heard that people around here like to eat their bread pudding, so I thought I'd give it a try. I read some recipes online and from "The Joy of Cooking", but none of those were really what I was looking for, so I made my own recipe.
Ingredients:
Crusts and Heels from 1 small bag of white bread, chopped into sticks
3 eggs
~3/4 cup double cream
1 tsp vanilla extract
1/2 tsp mixed spices
1/4 cup white wine (I'm trying to get rid of the stuff)
~3 tbsp butter
handful of pine nuts
~3 tbsp golden syrup
I basically just raided my cupboard for some things I could use to make it. You put the pine nuts in with the bread and chop the butter up to place on top. Then, mix together the remaining ingredients and pour them over the bread. Let it sit for a while and press the bread down so that it soaks everything up. I put it in a 350℉ oven for about 30 minutes. In the end, it was a little dry, but not bad. It tastes a lot like French bread, but it's in the shape of a pie. I kind of like it.
If I've ever got a bunch of bread sitting around, I might make this again.
All right, next on the list are, Cherry Coke Cupcakes, from the internet and, Roasted Garlic and Aubergine Custards with Red Pepper Dressing, from the book. Maybe I'll get to that someday.
I've finally gotten some more cooking done. Well, sort of, this wasn't much of a feat. You see, I finally got around to making recipe number 14, Mozzarella and Tomato Skewers, from the "400 Appetizers & Party Recipes" book. It's a pretty simple recipe, and only calls for about 4 ingredients, bread, tomatoes, mozzarella, and basil. What's had me putting it off for so long was my lack of skewers. You see, they don't sell them at my local Sainsbury's. Of course, now that I've gotten some from Sea Woo, the Asian supermarket, a new store has opened up right next to Sainsbury's that does carry skewers; just my luck.
Well, I went out this morning and spent entirely too much on groceries, which I've been doing far too often, I'm afraid, and among those groceries were the requisite ingredients. First, you cut the crusts off the bread, cut into quarters, cover with olive oil, and bake.
Look at all those slices of bread! It takes three breads for each skewer, and here I have forty two pieces, which will eventually make fourteen skewers. Since each skewer also gets two pieces of mozzarella and two slices of tomato, I'll need twenty eight of each.
Once the bread is baked, you just stack them up: bread, cheese, tomato, basil, bread, cheese, tomato, basil, bread, and put a skewer through them. I took fresh basil leaves off my basil plant. I thought the poor thing would be stripped bare by this recipe, but it turns out these plants are dense with leaves. I hardly made a mark.
If you're making these, I suggest you stop at this point. This is basically a stacked Caprese salad, and it's delicious. However, the recipe says to drizzle it all with olive oil, add some salt and pepper, and put it all back in the oven until the cheese starts to melt.
Fresh out of the oven, they've all shrunk a little bit, so you've got to push them down so they stay together, and be sure to let them cool before you try one, unless you want a mouth full of lava-hot molten tomato juice. Once they've been baked, the top piece of bread becomes scratch-the-top-of-your-mouth crispy, and the other two pieces are soggy. That's not to say that they're not still delicious. I've already finished about ten of these things for my dinner.
After all that, I was left with the problem of what to do with all the crusts I had cut off the bread. I've heard that people around here like to eat their bread pudding, so I thought I'd give it a try. I read some recipes online and from "The Joy of Cooking", but none of those were really what I was looking for, so I made my own recipe.
Ingredients:
Crusts and Heels from 1 small bag of white bread, chopped into sticks
3 eggs
~3/4 cup double cream
1 tsp vanilla extract
1/2 tsp mixed spices
1/4 cup white wine (I'm trying to get rid of the stuff)
~3 tbsp butter
handful of pine nuts
~3 tbsp golden syrup
I basically just raided my cupboard for some things I could use to make it. You put the pine nuts in with the bread and chop the butter up to place on top. Then, mix together the remaining ingredients and pour them over the bread. Let it sit for a while and press the bread down so that it soaks everything up. I put it in a 350℉ oven for about 30 minutes. In the end, it was a little dry, but not bad. It tastes a lot like French bread, but it's in the shape of a pie. I kind of like it.
If I've ever got a bunch of bread sitting around, I might make this again.
All right, next on the list are, Cherry Coke Cupcakes, from the internet and, Roasted Garlic and Aubergine Custards with Red Pepper Dressing, from the book. Maybe I'll get to that someday.
Saturday, March 26, 2011
A Collusion of Carbohydrates
Today I made a very special pizza. To begin, I'd like to say that I'm not a big fan of making pizza. I love eating pizza, and actually, I quite enjoy topping the pizza, but I just don't like making pizza crust. My problem with pizza crust is two-fold:
1.) You have to make it in advance. I hate making things in advance. This is why I rarely make any kind of yeast-bread. Making in advance assumes you know when you're going to want something, and I usually don't decide that until the last minute.
2.) You have to shape the pizza dough. I don't mind kneading dough, I really don't, and I don't mind occasionally rolling things out. I mean, I don't exactly enjoy rolling out dough, but usually I find the end product worth it. This might be a good time to point out that pie-crust is only just worth it: I generally cringe before making pie-crust, but the finished product is so damn good! But patting out pizza dough, and then stretching it out into some kind of pizza-shaped circle is just a pain in the ass, and I don't often think it's worth it.
Those are the two reasons I don't often make pizza. I suppose the second one would go away with practice, but let's face it: I won't make that many pizzas unless I start working at a pizzeria. That said, this pie crust wasn't too bad. Sure, I still had to let it rise for two hours, and it was still a pain to shape, but it tasted all right.
By the way, I made Mashed Potato Pizza. I like mashed potatoes, so I figured I'd give it a try. I topped my pizza with the mashed potatoes (of course), bacon, mushrooms, and two kinds of cheese, Swiss and Leicester.
Here's the crust with the potatoes, bacon, and mushrooms:
You can't see it, but I put basil, rosemary, and thyme on top of the crust, under the mashed potatoes. Then comes the cheese:
And when it's done baking, it looks like this:
Looks fantastic. Incidentally, it also tastes fantastic. It probably tastes so good because of the two cloves of garlic in the mashed potatoes, garlic is addictive, but the crust was pretty tasty too. This recipe will go in my keep folder, but mostly for the crust. The potatoes make a tasty addition, and the rest is just regular pizza stuff, always tasty.
1.) You have to make it in advance. I hate making things in advance. This is why I rarely make any kind of yeast-bread. Making in advance assumes you know when you're going to want something, and I usually don't decide that until the last minute.
2.) You have to shape the pizza dough. I don't mind kneading dough, I really don't, and I don't mind occasionally rolling things out. I mean, I don't exactly enjoy rolling out dough, but usually I find the end product worth it. This might be a good time to point out that pie-crust is only just worth it: I generally cringe before making pie-crust, but the finished product is so damn good! But patting out pizza dough, and then stretching it out into some kind of pizza-shaped circle is just a pain in the ass, and I don't often think it's worth it.
Those are the two reasons I don't often make pizza. I suppose the second one would go away with practice, but let's face it: I won't make that many pizzas unless I start working at a pizzeria. That said, this pie crust wasn't too bad. Sure, I still had to let it rise for two hours, and it was still a pain to shape, but it tasted all right.
By the way, I made Mashed Potato Pizza. I like mashed potatoes, so I figured I'd give it a try. I topped my pizza with the mashed potatoes (of course), bacon, mushrooms, and two kinds of cheese, Swiss and Leicester.
Here's the crust with the potatoes, bacon, and mushrooms:
You can't see it, but I put basil, rosemary, and thyme on top of the crust, under the mashed potatoes. Then comes the cheese:
And when it's done baking, it looks like this:
Looks fantastic. Incidentally, it also tastes fantastic. It probably tastes so good because of the two cloves of garlic in the mashed potatoes, garlic is addictive, but the crust was pretty tasty too. This recipe will go in my keep folder, but mostly for the crust. The potatoes make a tasty addition, and the rest is just regular pizza stuff, always tasty.
Grapefruit: Who Knew?
Sorry, it's been a long time since I last posted, and this one isn't really about me cooking. Actually, I've been thinking lately that I should write about some other things that interest me, but we'll see how lazy I am when it comes to actually doing anything about it. It's hard enough for me to just take pictures of my food before I eat it, let alone posting said pictures with description.
Anyway, this post isn't about that, it's about grapefruit, and the mystical interaction grapefruit have with drugs (I'm assuming grapefruit is its own plural).
You see, for the past couple of weeks, I've been suffering from a bad case of folliculitis barbae, or barber's itch. It's an infection of the hair follicle, usually by your common Staphyloccus aureus bacteria. I finally went to the doctor about it, and he prescribed me a course of oral Erythromycin. Erythromycin is some basic broad-spectrum antibiotic with a pretty rich history of its own, so I suggest you check out the wikipedia article.
Everything seems to be working out, and though I've only been taking the Erythromycin for two days, I'm seeing a great reduction in itchy bumps in my beard area, and little-to-no side effects!
I was doing some research on my condition and treatment, mostly wondering why I was given an oral treatment instead of a topical one, when I came across this little gem:
Well, it seems that grapefruit isn't just your usual citrus fruit; it also messes with an enzyme in your stomach that generally breaks down a bunch of the medications that are usually taken orally. If you eat grapefruit with your medication, the enzyme doesn't work, and you end up with a lot more of said medication in your system than your doctor intended. At least that's what I gather from this source and this source [pdf]. I think that's pretty awesome, and I wanted to share. That second source is a pdf listing a lot of the drugs known to have an interaction with grapefruit, if you're curious about your own medications.
Oh, and if you were wondering, I think my doctor prescribed the oral treatment because my case was pretty advanced. I mean, my condition had actually improved a bit in the few days previous to my doctor visit, but the fact that it comes back with a vengeance whenever I shave convinced him that we needed to come at this hard.
Anyway, this post isn't about that, it's about grapefruit, and the mystical interaction grapefruit have with drugs (I'm assuming grapefruit is its own plural).
You see, for the past couple of weeks, I've been suffering from a bad case of folliculitis barbae, or barber's itch. It's an infection of the hair follicle, usually by your common Staphyloccus aureus bacteria. I finally went to the doctor about it, and he prescribed me a course of oral Erythromycin. Erythromycin is some basic broad-spectrum antibiotic with a pretty rich history of its own, so I suggest you check out the wikipedia article.
Everything seems to be working out, and though I've only been taking the Erythromycin for two days, I'm seeing a great reduction in itchy bumps in my beard area, and little-to-no side effects!
I was doing some research on my condition and treatment, mostly wondering why I was given an oral treatment instead of a topical one, when I came across this little gem:
"Do not eat grapefruit or drink grapefruit juice while you use Erythromycin."From here. That caught my attention. Nobody told me not to eat grapefruit. What's going on?
Well, it seems that grapefruit isn't just your usual citrus fruit; it also messes with an enzyme in your stomach that generally breaks down a bunch of the medications that are usually taken orally. If you eat grapefruit with your medication, the enzyme doesn't work, and you end up with a lot more of said medication in your system than your doctor intended. At least that's what I gather from this source and this source [pdf]. I think that's pretty awesome, and I wanted to share. That second source is a pdf listing a lot of the drugs known to have an interaction with grapefruit, if you're curious about your own medications.
Oh, and if you were wondering, I think my doctor prescribed the oral treatment because my case was pretty advanced. I mean, my condition had actually improved a bit in the few days previous to my doctor visit, but the fact that it comes back with a vengeance whenever I shave convinced him that we needed to come at this hard.
Tuesday, February 22, 2011
Raspberry Bars
I made some bars on Sunday.
They taste pretty good.
I'm sorry, I'm not feeling particularly talkative (writative? There's got to be a word for this.) today.
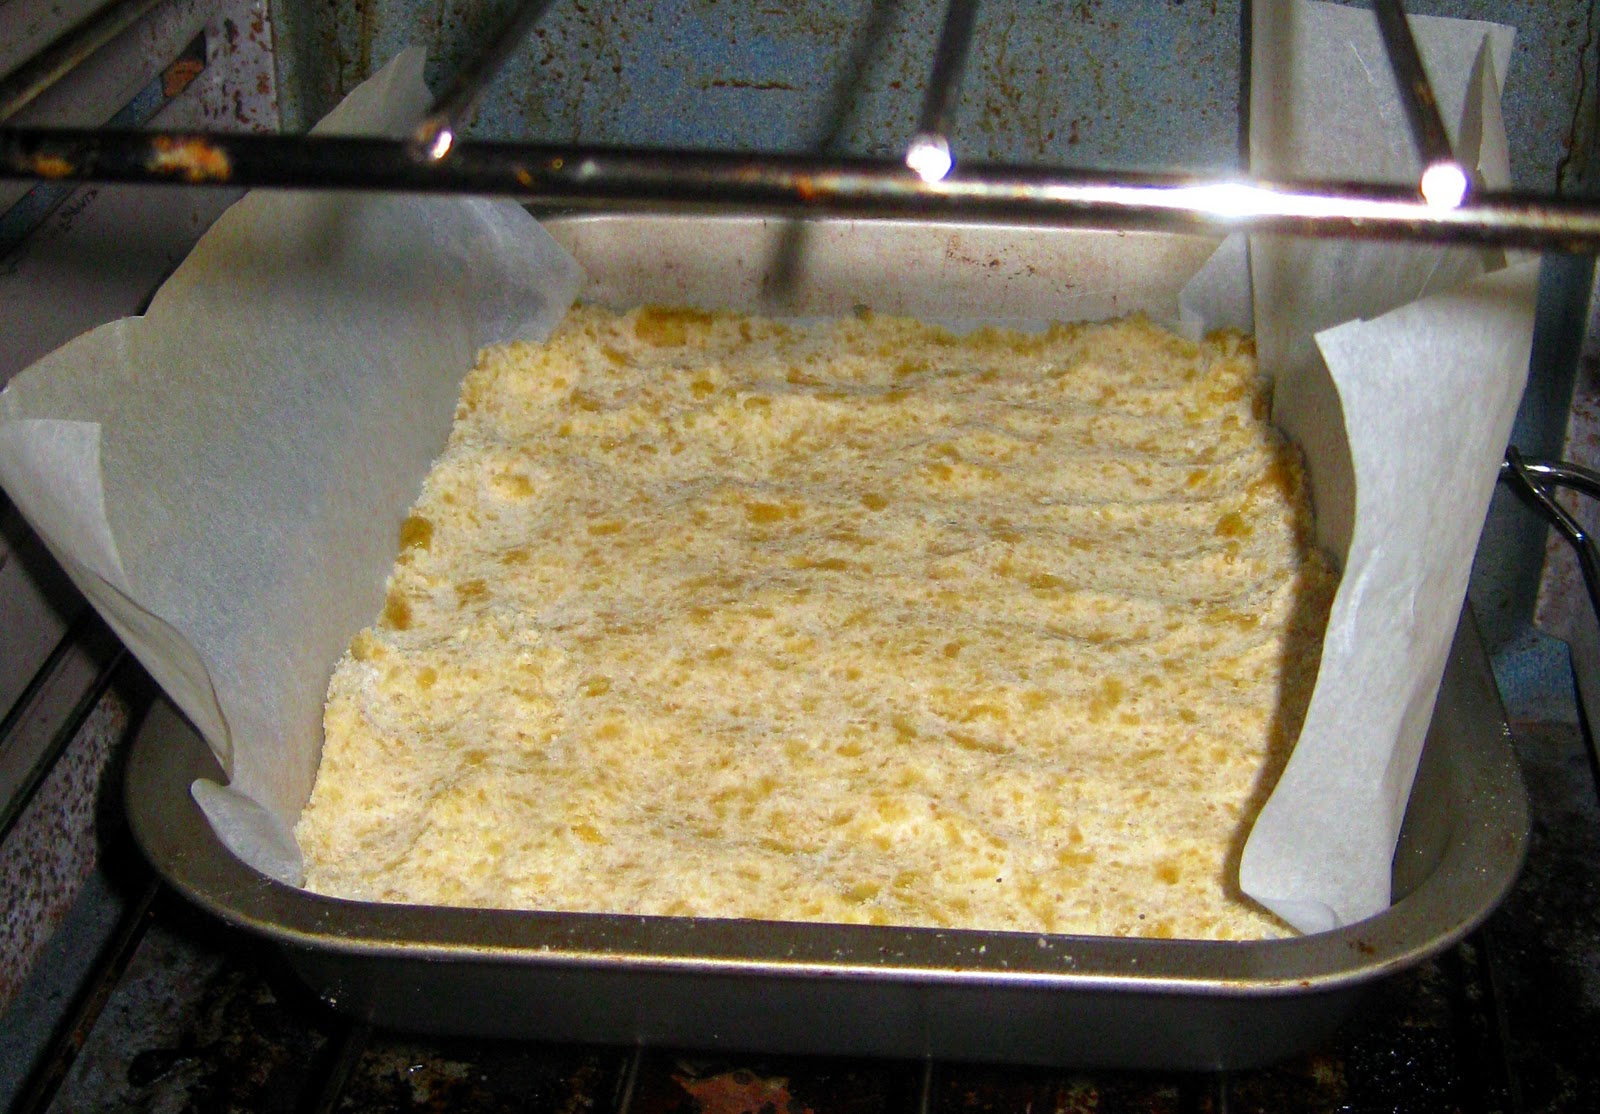
Anyway, the bars are pretty easy to make, first, you make a simple shortbread crust and bake it.
I would suggest modifying the recipe to have more butter. They only call for a little more than one stick, but I found that overwhelmingly lacking, especially when the recipe asks you to mix in the flour until combined. That flour will never combine with so little butter. I broke down and used a mixer, which probably lead to my crust being too hard and crumbly. If you're going to make this recipe, use more butter.
After you bake the crust, just mix up all the other ingredients and pour on top.
If you look closely at that picture, you'll see that some of the runny red liquid has gone behind my wax paper. That is bad. Despite what the recipe says, this stuff cooks up sticky, and it was a bitch getting it out of the pan when it was all cooked. I blame the stuff behind the wax paper in particular. Also, everything behind the wax paper is wasted topping.
Part of the process requires squeezing all the juice out of a couple cups of raspberries. That left me with a bunch of pulp that I wasn't ready to just throw away.
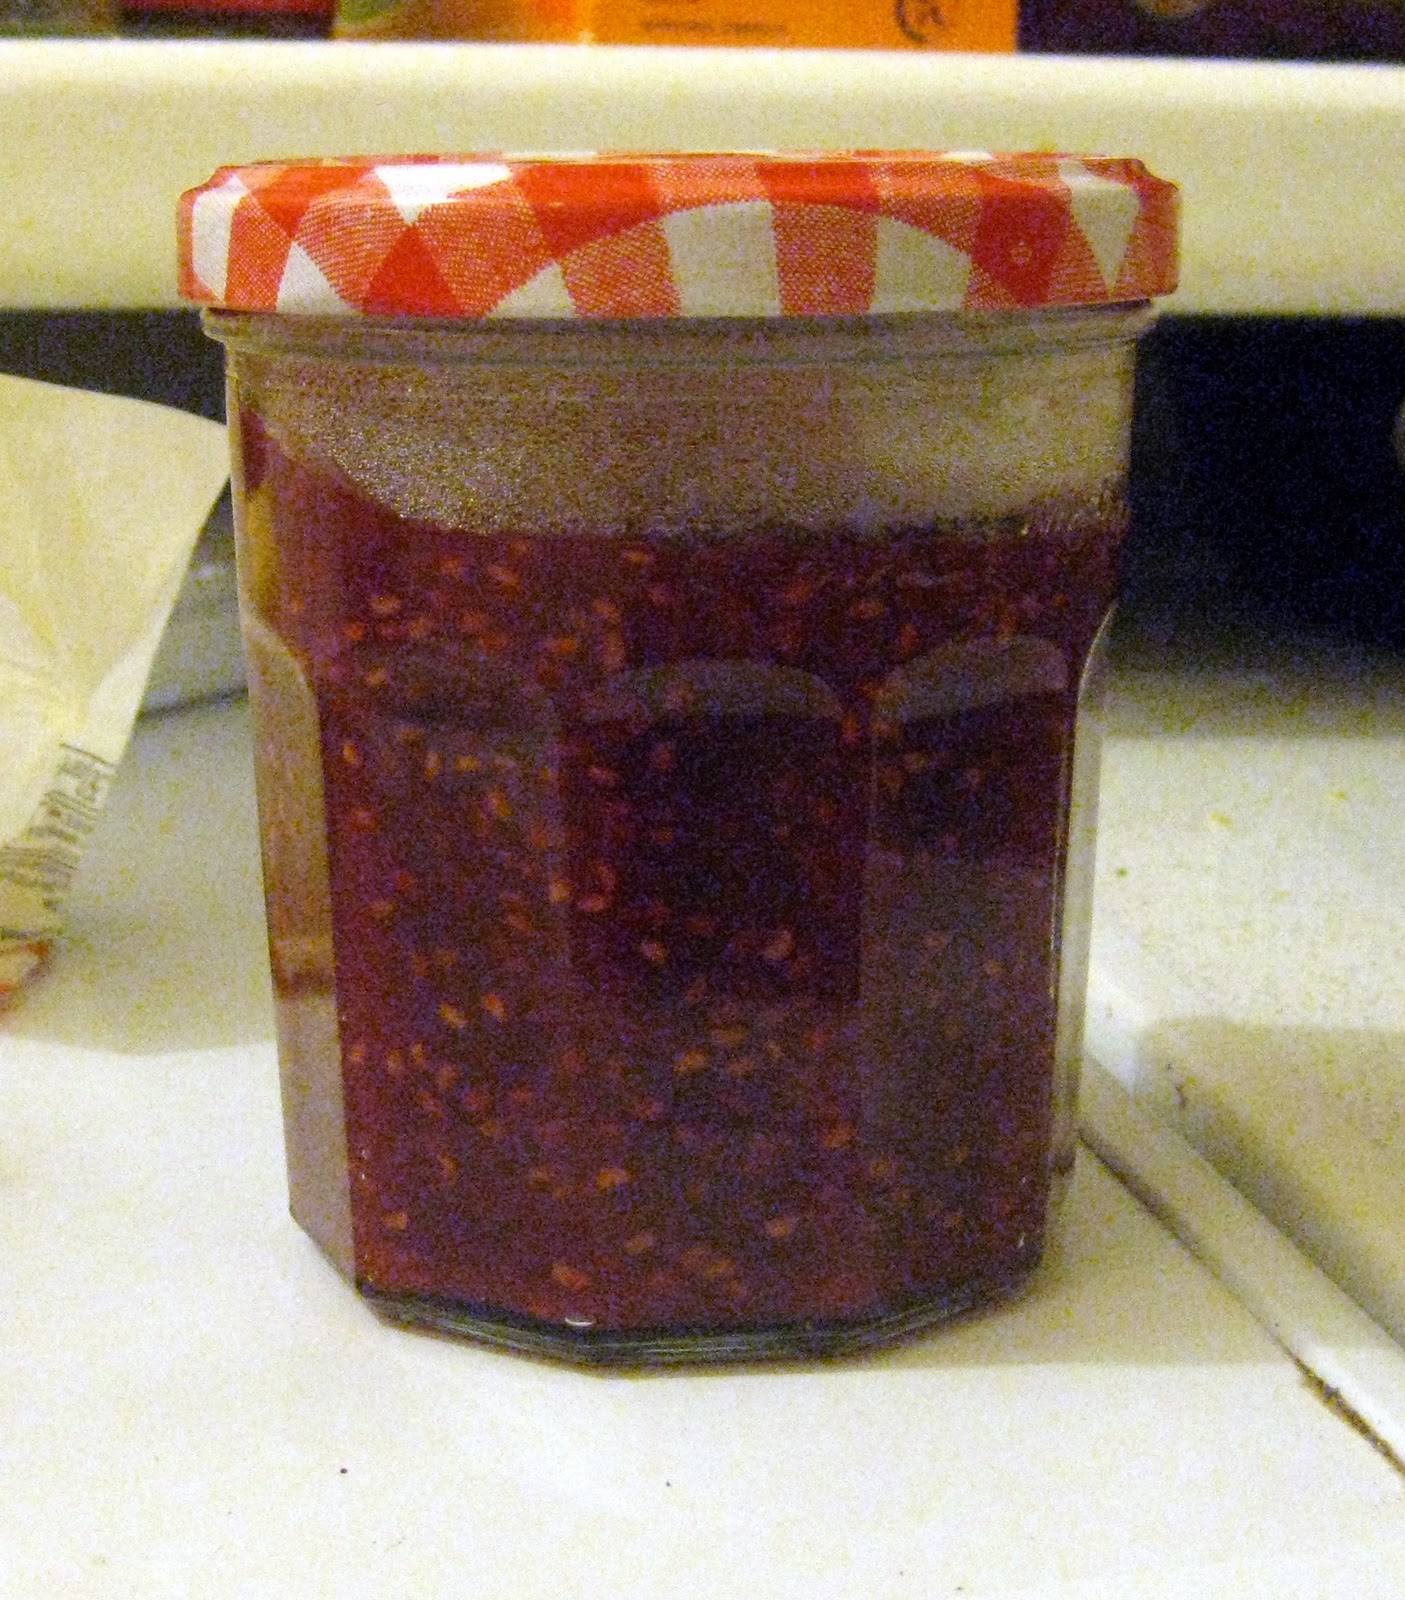
I decided to use it to make some jam, since that's how I roll. The jam was pretty easy: I just took the pulp, added the lemon zest I had leftover from the bars, some sugar, a little bit of corn starch, and finally, some of the tastiest orange juice ever:
Orange juice with lime in it! What will they think of next? Anyway, just boil that up until it gets thick, and throw it in a jar. It looks like this:
and it spreads like this:
That's me making my lunch the next day. I made all this on Sunday, and I didn't actually try the bars, because they were cooling, until Monday. The above picture is my usual PB&J for lunch on Monday. I don't always have PB&J for lunch, so maybe I shouldn't say usual, but it's my default if I don't have any leftovers or anything. Now I have homemade jam to go on them, so I might step up the sandwich eating until it's gone.
Inside, the bars look nice.
Although, you can see that the crust would have been better if it had more butter. The topping takes some getting used to: It has a nice flavor, but a weird, jelly-like texture. I'd say that the texture gets better with time though, because it seemed a lot better on Monday than it did on Sunday. Now it's almost Wednesday, so I'll bring the rest of the bars into work and see what everybody else has to say.
The bars are pretty nice, I'd suggest giving them a try, but they're nothing spectacular. I'd say I'm more excited about the jam, maybe because it's a recipe I just made up, maybe it's because I like jam.
They taste pretty good.
I'm sorry, I'm not feeling particularly talkative (writative? There's got to be a word for this.) today.
Anyway, the bars are pretty easy to make, first, you make a simple shortbread crust and bake it.
I would suggest modifying the recipe to have more butter. They only call for a little more than one stick, but I found that overwhelmingly lacking, especially when the recipe asks you to mix in the flour until combined. That flour will never combine with so little butter. I broke down and used a mixer, which probably lead to my crust being too hard and crumbly. If you're going to make this recipe, use more butter.
After you bake the crust, just mix up all the other ingredients and pour on top.
If you look closely at that picture, you'll see that some of the runny red liquid has gone behind my wax paper. That is bad. Despite what the recipe says, this stuff cooks up sticky, and it was a bitch getting it out of the pan when it was all cooked. I blame the stuff behind the wax paper in particular. Also, everything behind the wax paper is wasted topping.
Part of the process requires squeezing all the juice out of a couple cups of raspberries. That left me with a bunch of pulp that I wasn't ready to just throw away.
I decided to use it to make some jam, since that's how I roll. The jam was pretty easy: I just took the pulp, added the lemon zest I had leftover from the bars, some sugar, a little bit of corn starch, and finally, some of the tastiest orange juice ever:
Orange juice with lime in it! What will they think of next? Anyway, just boil that up until it gets thick, and throw it in a jar. It looks like this:
and it spreads like this:
That's me making my lunch the next day. I made all this on Sunday, and I didn't actually try the bars, because they were cooling, until Monday. The above picture is my usual PB&J for lunch on Monday. I don't always have PB&J for lunch, so maybe I shouldn't say usual, but it's my default if I don't have any leftovers or anything. Now I have homemade jam to go on them, so I might step up the sandwich eating until it's gone.
Inside, the bars look nice.
Although, you can see that the crust would have been better if it had more butter. The topping takes some getting used to: It has a nice flavor, but a weird, jelly-like texture. I'd say that the texture gets better with time though, because it seemed a lot better on Monday than it did on Sunday. Now it's almost Wednesday, so I'll bring the rest of the bars into work and see what everybody else has to say.
The bars are pretty nice, I'd suggest giving them a try, but they're nothing spectacular. I'd say I'm more excited about the jam, maybe because it's a recipe I just made up, maybe it's because I like jam.
Saturday, February 12, 2011
Dessert!
Well, after I made the black pasta and posted about it, I decided to make some tasty dessert. So I tried my hand at a Strawberry Dumpling. The thing is, I didn't have enough strawberries, so I opted instead to make a red berry dumpling. The original recipe calls for a pint of strawberries. Using strawberries, raspberries, and cranberries, I was able to get what amounts to a little more than a pint, but I went with it anyway.
The recipe is pretty simple:
1. Cut up your berries, mix them with sugar, and let them sit for a while until the get juicy.
I mashed mine up with a pastry blender to bust up the cranberries. Fun fact: cranberries are like little balloons that pop when you squash them!
2. Make some simple biscuit dough with flour, baking powder, salt, butter, and milk.
3. Then you just boil the berries and plop the dough in there for about 15 minutes. The dough plumps up and cooks through.
The dumpling in this picture is the brainy-looking thing. My mistake was two-fold. First, I stirred the dough into the berries a little bit when I first added it. I don't think I should have done any stirring. Second, I was supposed to turn down the heat once I had added the dough. I didn't do that. I don't know if that actually had any effect, but I wish I'd followed the recipe more closely.
In the end, it looked like this:
Not beautiful, but still, I'd eat it. I did eat it.
That's some ice cream on top, definitely a good idea.
I'd say this is a great recipe. Next time I make it, I'll avoid the cranberries. Even if they are fun to pop, they made the sauce just a little too tart. I thought I could get around that by adding more sugar at the start, but I think there's more to it.
Coming up some time in the future, from the recipe book: number 14, Mozzarella and Tomato Skewers, and from the internet: Raspberry Lemonade Bars.
The recipe is pretty simple:
1. Cut up your berries, mix them with sugar, and let them sit for a while until the get juicy.
I mashed mine up with a pastry blender to bust up the cranberries. Fun fact: cranberries are like little balloons that pop when you squash them!
2. Make some simple biscuit dough with flour, baking powder, salt, butter, and milk.
3. Then you just boil the berries and plop the dough in there for about 15 minutes. The dough plumps up and cooks through.
The dumpling in this picture is the brainy-looking thing. My mistake was two-fold. First, I stirred the dough into the berries a little bit when I first added it. I don't think I should have done any stirring. Second, I was supposed to turn down the heat once I had added the dough. I didn't do that. I don't know if that actually had any effect, but I wish I'd followed the recipe more closely.
In the end, it looked like this:
Not beautiful, but still, I'd eat it. I did eat it.
That's some ice cream on top, definitely a good idea.
I'd say this is a great recipe. Next time I make it, I'll avoid the cranberries. Even if they are fun to pop, they made the sauce just a little too tart. I thought I could get around that by adding more sugar at the start, but I think there's more to it.
Coming up some time in the future, from the recipe book: number 14, Mozzarella and Tomato Skewers, and from the internet: Raspberry Lemonade Bars.
Subscribe to:
Posts (Atom)